DHCP Introduction
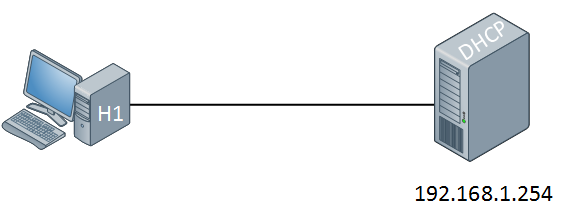
When you deploy Dynamic Host Configuration Protocol (DHCP) servers on your network, you can automatically provide client computers and other TCP/IP-based network devices with valid IP addresses. You can also provide the additional configuration parameters these clients and devices need, called DHCP options, that allow them to connect to other network resources, such as DNS servers, WINS servers, and routers.IP addresses can be configured statically or dynamically. Normally we configure static IP addresses on network devices like routers, switches, firewalls and servers while we dynamically assign IP addresses to computers, laptops, tablets, smartphones etc. The dynamic method uses DHCP (Dynamic Host Configuration Protocol) and in this short article I want to show you how it works. Let’s take a look at the following picture:

On the left side we have a computer without IP address. On the right side there’s a DHCP server configured with static IP address 192.168.1.254. This DHCP server will supply an IP address to our computer, this is how it works:

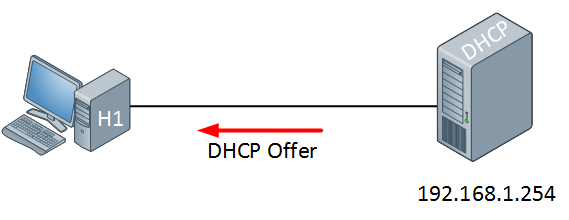
The computer will send a DHCP discover message. This is a broadcast because it doesn’t have an IP address and it doesn’t know if there is a DHCP server on the network. Of course in our scenario we do have a DHCP server so it will respond to this broadcast as following:

The DHCP server will respond with a DHCP offer message which contains an IP address for the computer (we have to configure the DHCP server to define which IP addresses we want to give). If we want we can also assign a default gateway and DNS server(s) to the computer. The computer will respond to this information:

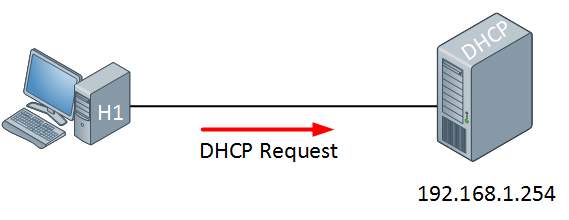
The computer will send a DHCP Request in response to the DHCP offer message, asking nicely if it’s OK to use the information that it has received. Our DHCP server will respond to this as following:

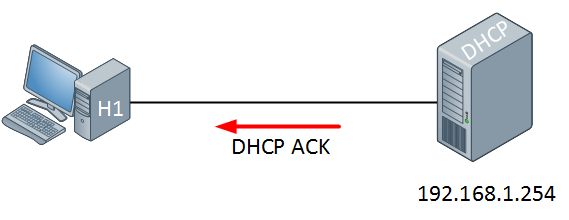
The DHCP server will respond with a DHCP ACK message to tell the computer it’s OK
|

|
|

|
|

|
|

|
|

|
|

|
|

|
|

|
|

|
|

|
|

|
|

|
|

|
|

|
|

|
|

|
|

|
|

|
|

|
|

|
|


hai it was so nice very informative.....
ReplyDeletecan you explain how can i do reservation in dhcp......and i am using virtulization machine......for understanding my self my os is
windows server 2008 but what happened wrong is when i reserve ip addres to a user it was created bt when i am checking in my user acc then it is showing the default ip rather than which i have assigned how can i resolve this......?
In the DHCP snap-in, expand the scope for which you want to create a reservation.
ReplyDeleteSelect and right-click Reservations, and then click New Reservation.
In the NewReservation dialog box, enter the Reservation name, IP address, MAC address, and Description of the reservation.
Select the appropriate Supported types: DHCP only, BOOTP only, or Both.
Click Add.