
Introduction
Microsoft has created a new FTP service that has been completely rewritten for Windows Server® 2008. This FTP service incorporates many new features that enable web authors to publish content better than before, and offers web administrators more security and deployment options.One of the features is FTP over Secure Sockets Layer (SSL), which allows sessions to be encrypted between an FTP client and server. This document walks you through: setting up an FTP site; and, configuring that site to use SSL with the new FTP user interface, which allows you to directly edit the IIS 7.0 configuration files. It contains
Prerequisites
The following items are required to be installed to complete the procedures in this article:- IIS 7.0 must be installed on your Windows 2008 Server, and the Internet Information Services Manager must be installed.
- The new FTP service. You can download and install the FTP service from the http://www.iis.net/ web site using one of the following links:
- You will need to create a root folder for FTP publishing:
- Create a folder at "%SystemDrive%\inetpub\ftproot"
- Set the permissions to allow access for the administrators group:
- Open a command prompt.
- Type the following command:
ICACLS "%SystemDrive%\inetpub\ftproot" /Grant administrators:F /T - Close the command prompt.
Creating a Self-signed SSL Certificate
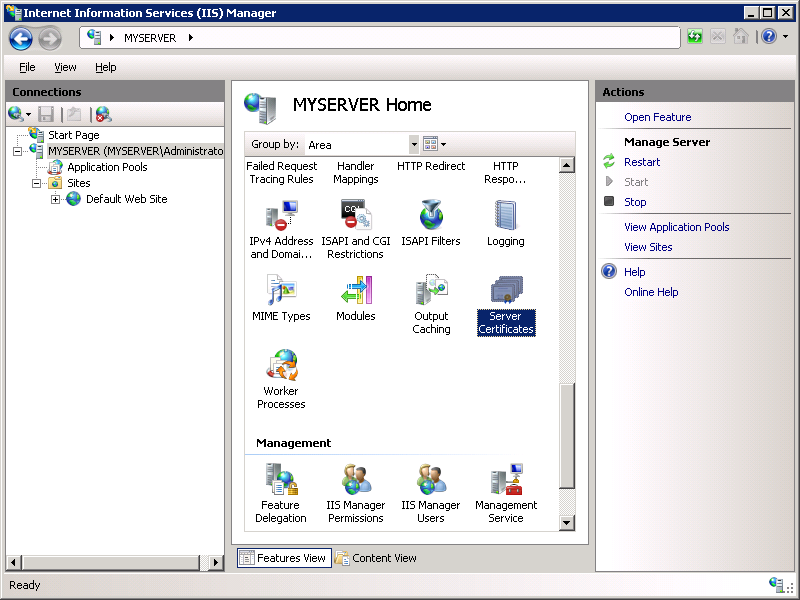
In this optional task you will create a self-signed SSL certificate that you will use for testing your FTP site.- Open the Internet Information Services (IIS 7.0) Manager.
- Click your computer at the top node of the Connections tree, then double-click the Server Certificates feature.
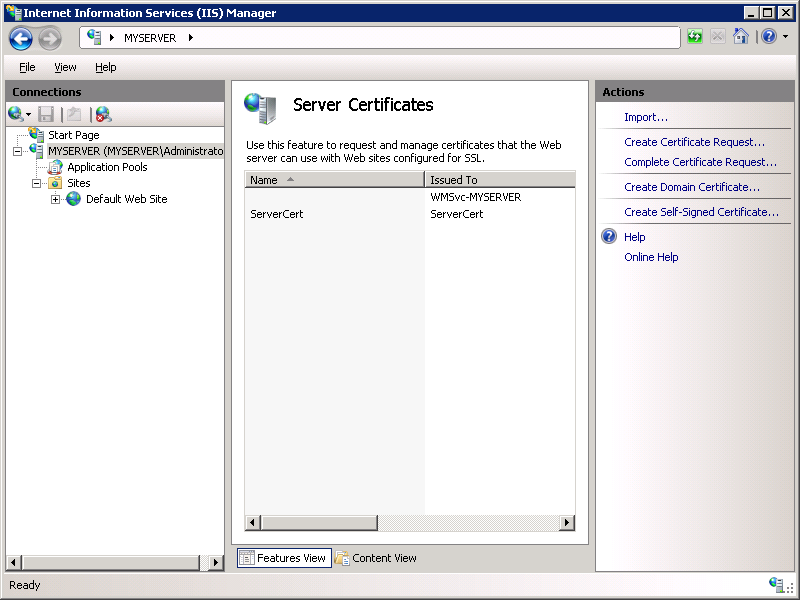
- Click Create Self-Signed Certificate in the Actions pane.
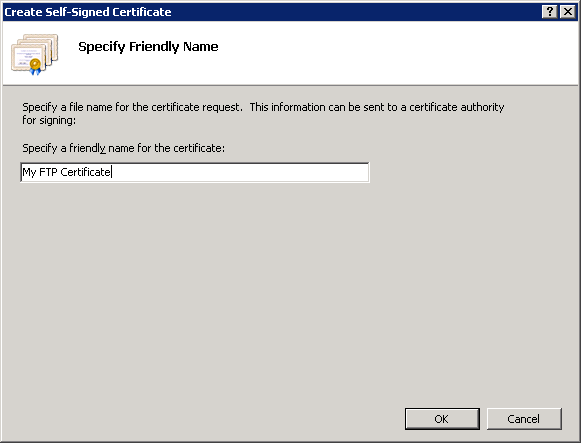
- Enter "My FTP Certificate" as the name for the new certificate, then click OK.
Creating an SSL-enabled FTP Site Using the IIS 7.0 Manager
Step 1: Use the FTP Site Wizard to Create an SSL-based FTP Site
In this first step, you create a new FTP site that can only be opened using your administrator account.
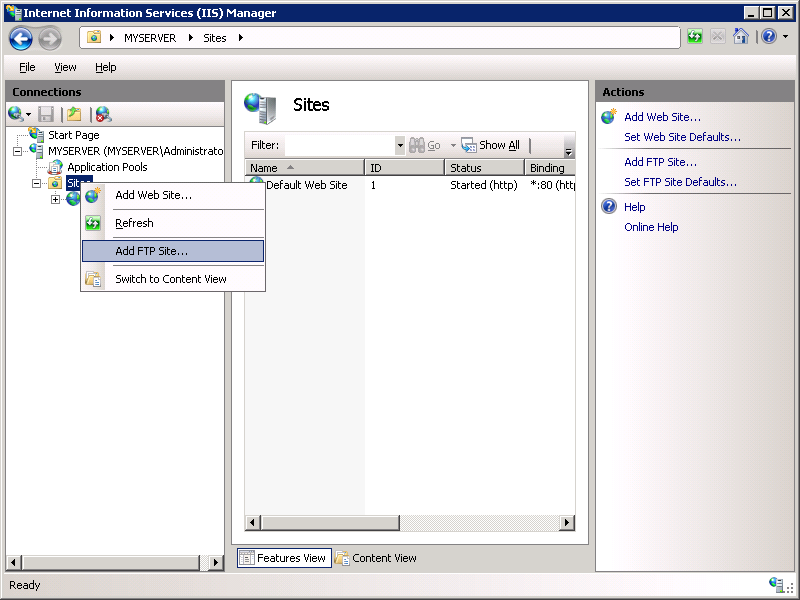
- Go to IIS 7.0 Manager. In the Connections pane, click the Sites node in the tree.
- Right-click the Sites node in the tree and click Add FTP Site, or click Add FTP Site in the Actions pane.
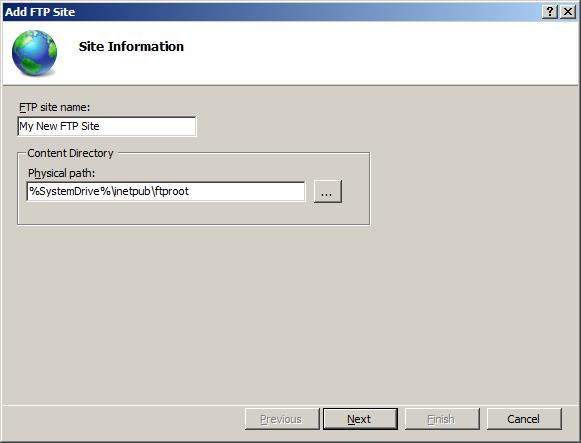
- When the Add FTP Site wizard appears:
- Enter "My New FTP Site" in the FTP site name box, then navigate to the "%SystemDrive%\inetpub\ftproot" folder that you created in the Prerequisites section. Note: If you choose to type in the path to your content folder, you can use environment variables in your paths.
- Click Next.
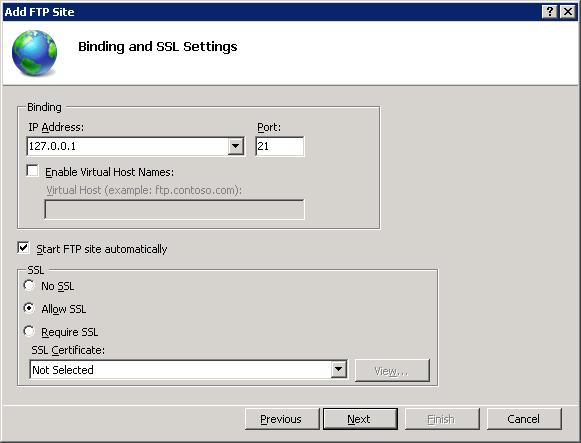
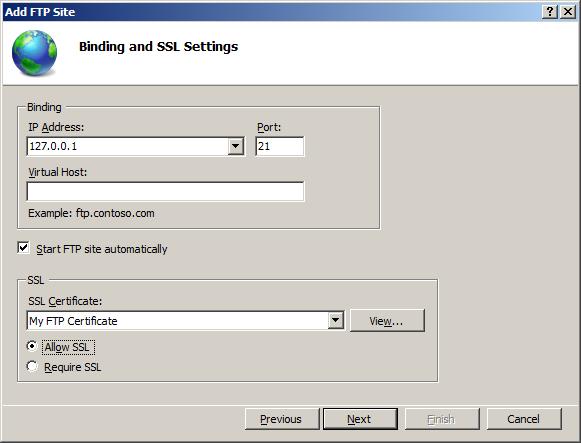
- On the next page of the wizard:
- Choose an IP address for your FTP site from the IP Address drop-down, or choose to accept the default selection of "All Unassigned." Because you will use the administrator account later in this walk-through, make sure that you restrict access to the server and enter the local loopback IP address for your computer by typing "127.0.0.1" in the IP Address box.
- You would normally enter the TCP/IP port for the FTP site in the Port box. For this walk-through, choose to accept the default port of 21.
- For this walk- through, you do not use a host name, so make sure that the Virtual Host box is blank.
- Make sure that the Certificates drop-down is set to your SSL certificate. For example, if you followed the optional step to create a self-signed certificate, the drop-down box should say "My FTP Certificate".
- Make sure that the Allow SSL option is selected.
- Click Next.
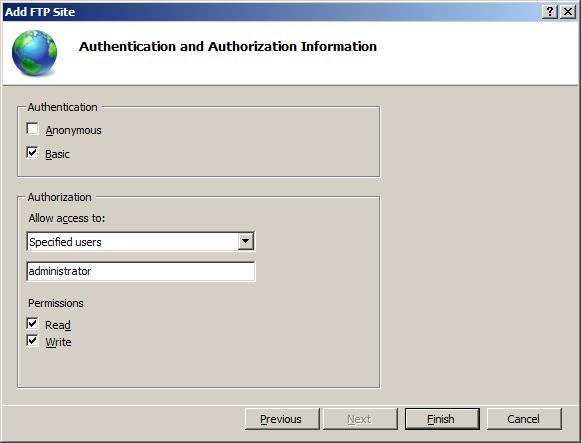
- On the next page of the wizard:
- Select Basic for the Authentication settings.
- For the Authorization settings:
- Choose "Specified users" from the Allow access to drop-down.
- Type "administrator" for the user name.
- Select Read and Write for the Permissions option.
- When you have completed these items, click Finish.
Summary
You have successfully created a new SSL-based FTP site using the new FTP service.
Step 2: Configuring Additional FTP SSL Settings
The SSL policy for FTP is customizable on a site-by-site basis. Different settings can be specified for the control and data channels. In this step, you configure additional SSL settings for your FTP site that ensure that all user credentials are encrypted, even if all other FTP activity is not.
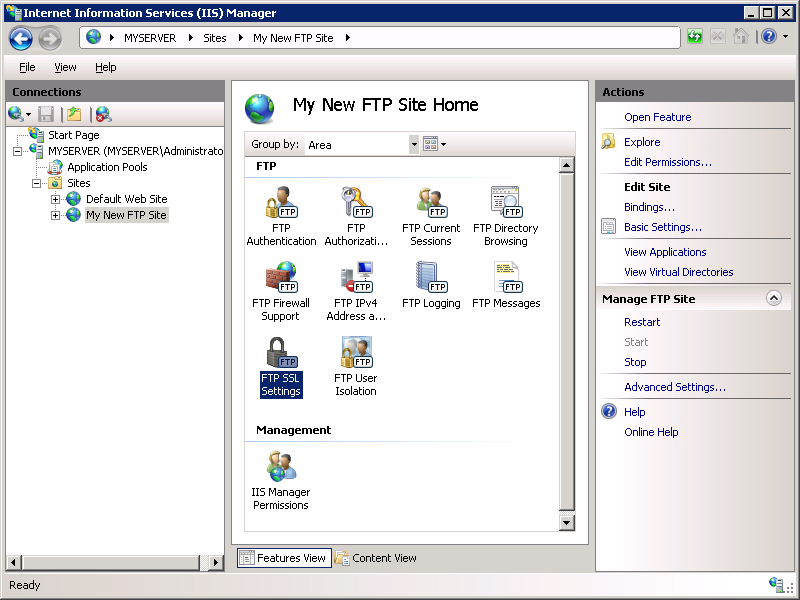
- Go to the IIS 7.0 Manager. Click the node for the FTP site that you
created in Step 1. The icons for all of the FTP features display.
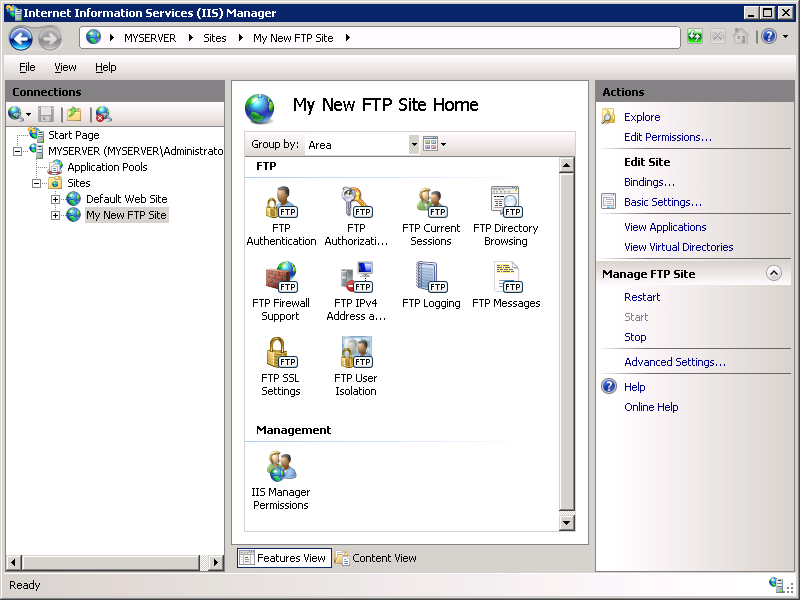
- In order to configure the SSL options, double-click the FTP SSL Settings icon to open the SSL settings feature page.
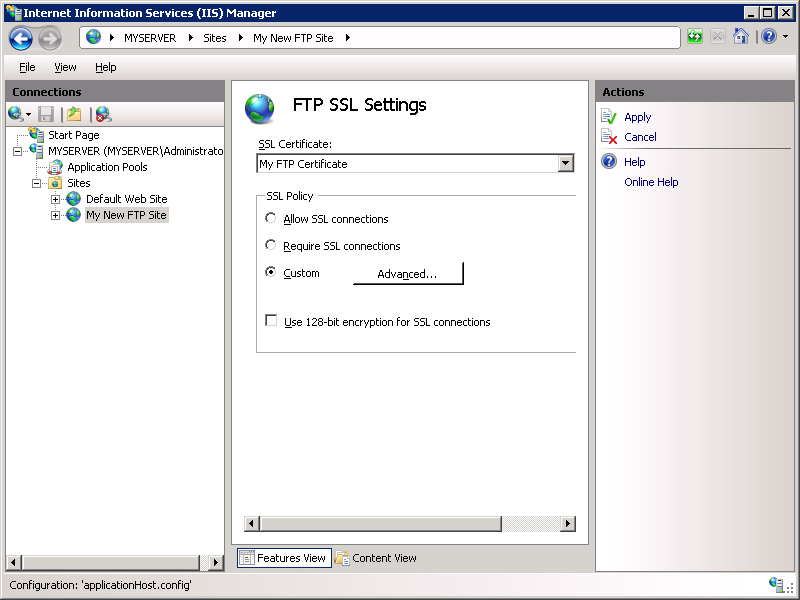
- When the FTP SSL Settings page displays, select the Custom option, and then click the Advanced button.
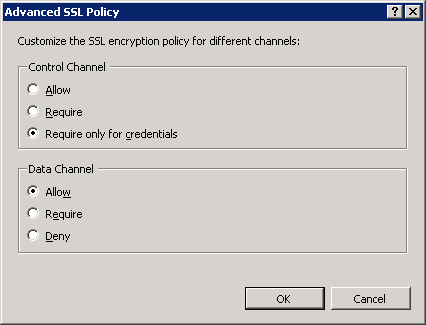
- When the Advanced SSL Policy dialog box is displayed:
- Select the Require only for credentials option for the control channel. Note: This setting requires that all user names and password are encrypted via SSL, but the client can choose whether to encrypt all other control channel activity.
- Select the Allow option for the data channel. Note: This setting allows the client to choose whether to encrypt any data channel activity.
- When you have completed these items, click OK.
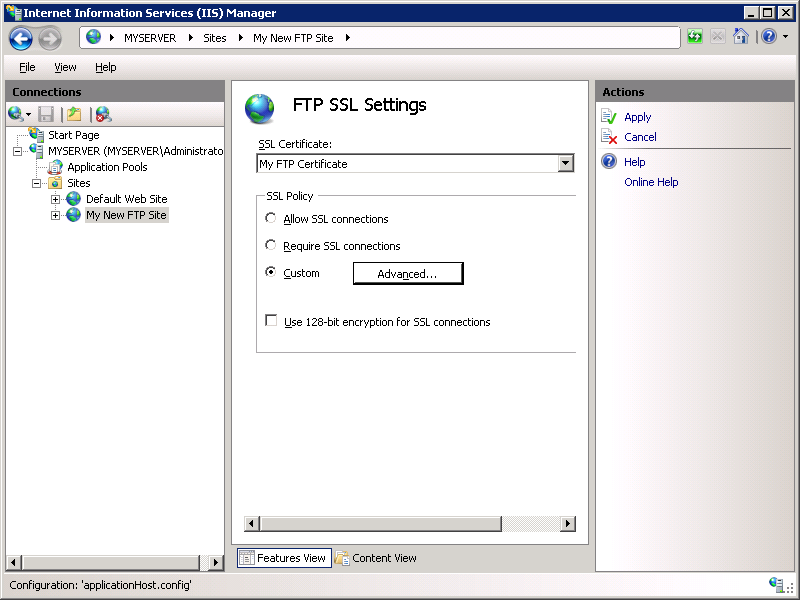
- On the FTP SSL Settings page, click Apply in the Actions pane to save the SSL settings.


0 comments:
Post a Comment